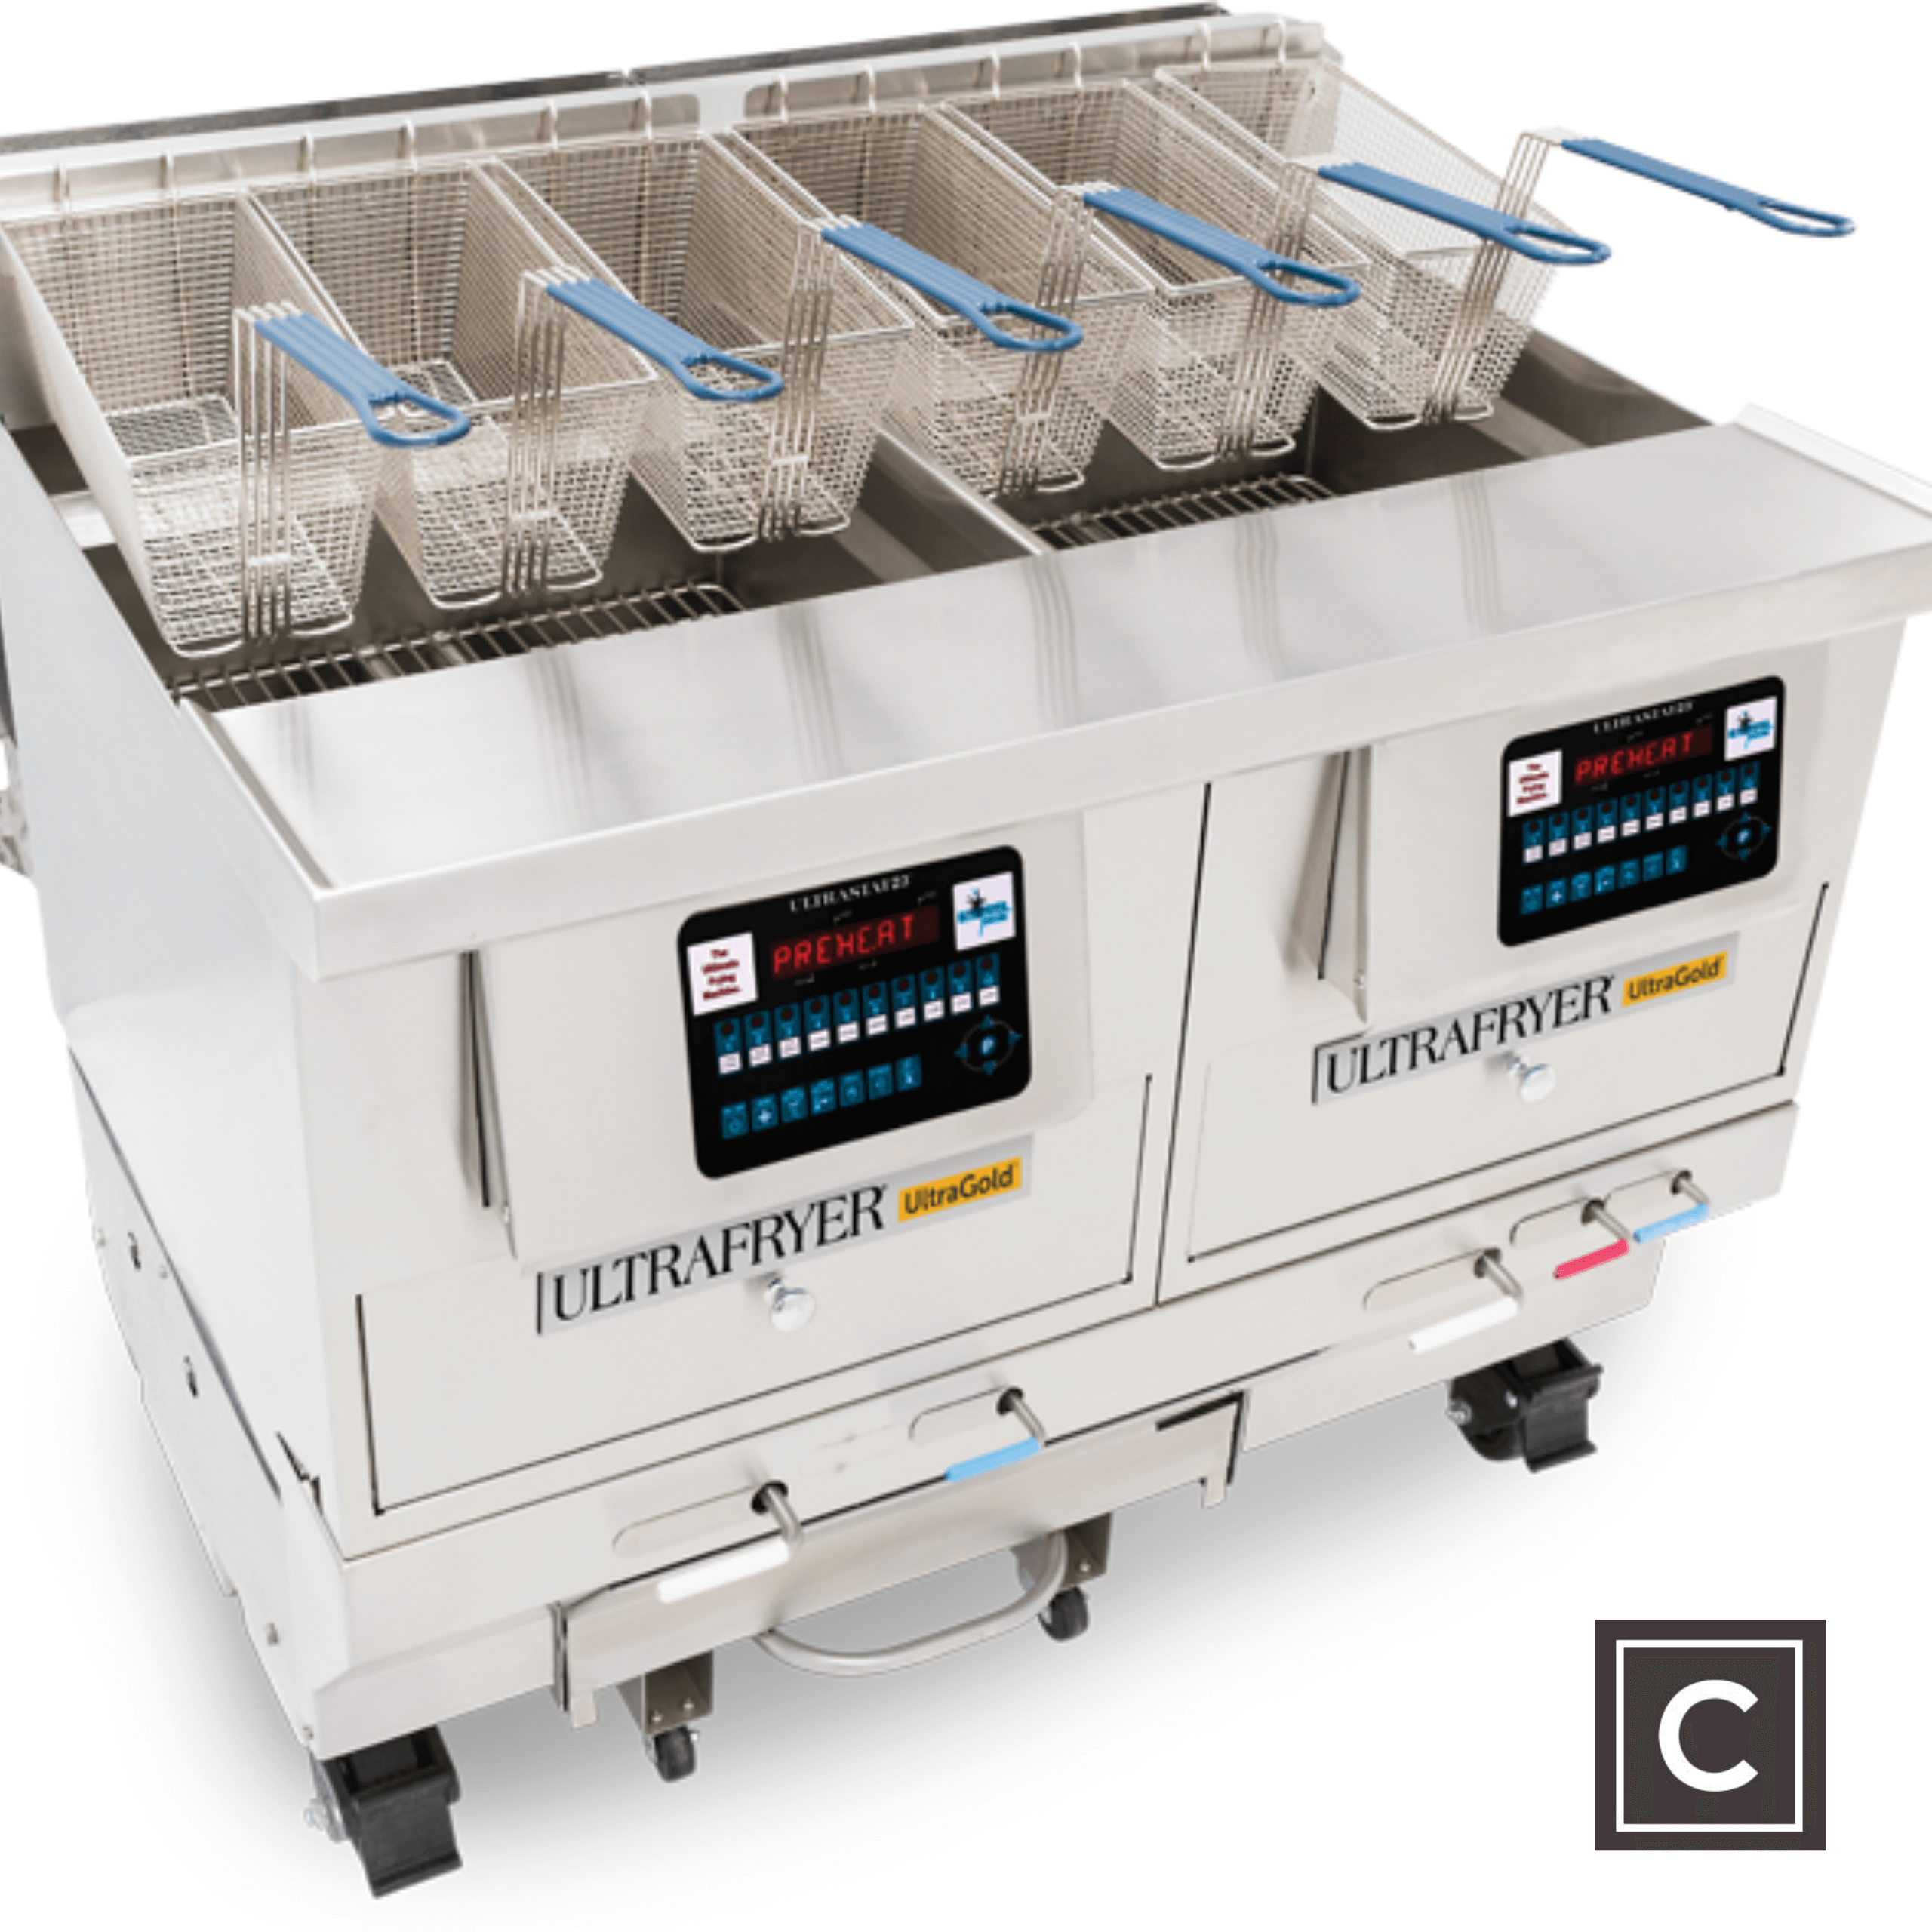
ULTRAFRYER Fryer Cleaning with Ceres Deep Fryer Cleaner
Posted by Stelios on 29th Jul 2023 Reading Time:
Ultrafryer is a top choice for many restaurants and commercial kitchens due to its ability to produce crispy French fries, wings, and other delectable breaded items in a matter of minutes. Regular maintenance and cleaning are essential to ensure your fryer maintains optimal performance. Below are step-by-step instructions on how to properly clean an Ultrafryer fryer with the Ceres Deep Fryer Cleaner.
When it comes to keeping your UltraFryer in optimal condition, there's a secret weapon: Ceres Deep Fryer Cleaner.
Why Use Ceres Deep Fryer Cleaner?
1. Eliminates Stubborn Buildup: Crafted as a potent, non-caustic solution, it takes care of carbon buildup, polymerisation, and grease in all types of fryers.
2. Exceptional Cleaning Performance: Achieve spotless cleaning that enhances efficiency and simplifies the entire process.
3. Cost-Effective: With Ceres, you get superior cleaning and an efficient way to manage costs and Free Shipping.
4. Enhances Fryer and Oil Life: Regular usage helps to increase both the life of your fryers and the oil within them.
5. Speeds Up Recovery Time: Improve the recovery time of your fryer and ensure it's ready when you need it.
6. Removes Carbon: Bid farewell to carbon that can compromise the taste and quality of your food.

Weekly Boil-Out Procedures:
- Begin by ensuring all drain levers are in the 'up' position and closed. Then, turn the ON/OFF toggle switch to the 'off' position.
- Fill each fryer with water, making sure it reaches about two inches below the middle line of the "E" in the word "LEVEL" located on the rear wall of the fryer.
- Add 500g of Ceres Deep Fryer Cleaner and fill with water to the fill line.
- Turn the ON/OFF toggle switch to the 'on' position and set the manual gas valve to 'on.' Depress and release the start button, followed by the EXIT MELT button.
- Allow the boil-out solution in the fryer to boil, and set a timer for 30 minutes. During this time, use a long brush to scrub the fryer's front, back, and sidewalls.
- While the timer is running, follow the daily instructions to clean the filter tub assembly.
- When the timer sounds, turn off the ON/OFF toggle switch and the manual gas valve. Dispose of the boil-out solution in the floor drain; avoid using the pump to remove water from the fryer to prevent potential damage and void the manufacturer's warranty.
- Use a scrubbing pad to remove carbon buildup from the top burner. Clean the heat exchanger thoroughly by sliding an end of the pad under each exchanger and using a pair of tongs to rock up and down the length of each exchanger.
- Rinse the fryers with warm water until the water from the drain valve runs clear. Wipe the sides, burner tubes, and bottom of the fryer with dry, super absorbent cloth.
- After removing the remaining water, close the drain valve and refill the fryer with fresh oil to the proper level.
Cleaning the Exterior:
Throughout the day, clean the fryer's exterior surfaces periodically using warm water and a mild solution of Ceres Natural Degreaser. You may use a super absorbent cloth or microfiber cloth pad to remove caked-on residue. Never use steel wool, scrapers, or any abrasive materials on the stainless steel.
By following these proper cleaning and maintenance procedures, you can ensure that your Ultrafryer fryer continues to deliver outstanding performance, consistently producing delicious fried foods for your customers.

